
Gluteal Amnesia and Back Pain
Your glutes have forgotten how to work. It sounds strange,

Your workspace is slowly destroying your back. But buying a $1,500 ergonomic chair isn’t the only solution. Sometimes a few well-chosen accessories—totaling under $200—can transform any workspace into a spine-friendly environment.
📋 Table of Contents
The right ergonomic accessories address the specific problems causing your back pain: poor lumbar support, improper monitor height, keyboard positioning, and prolonged static postures. The wrong ones are expensive paperweights that look ergonomic but don’t actually help.
This guide covers the accessories that actually work, how to use them properly, and which ones are worth your money based on your specific situation.
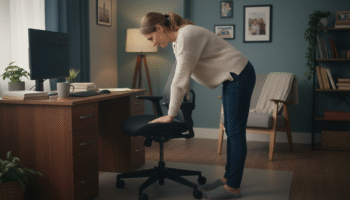
Standard desks and chairs are built for cost and average dimensions—not your body or your back health:
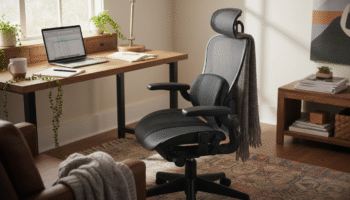
Good ergonomic accessories serve one purpose: help you maintain neutral spine position with minimal effort. They don’t force good posture—they make good posture easier than bad posture.
Start with accessories that address your specific pain. lower back pain? Lumbar support first. Neck pain? Monitor arm first. Shoulder pain? Keyboard tray first. Don’t buy everything at once—add strategically based on what hurts.
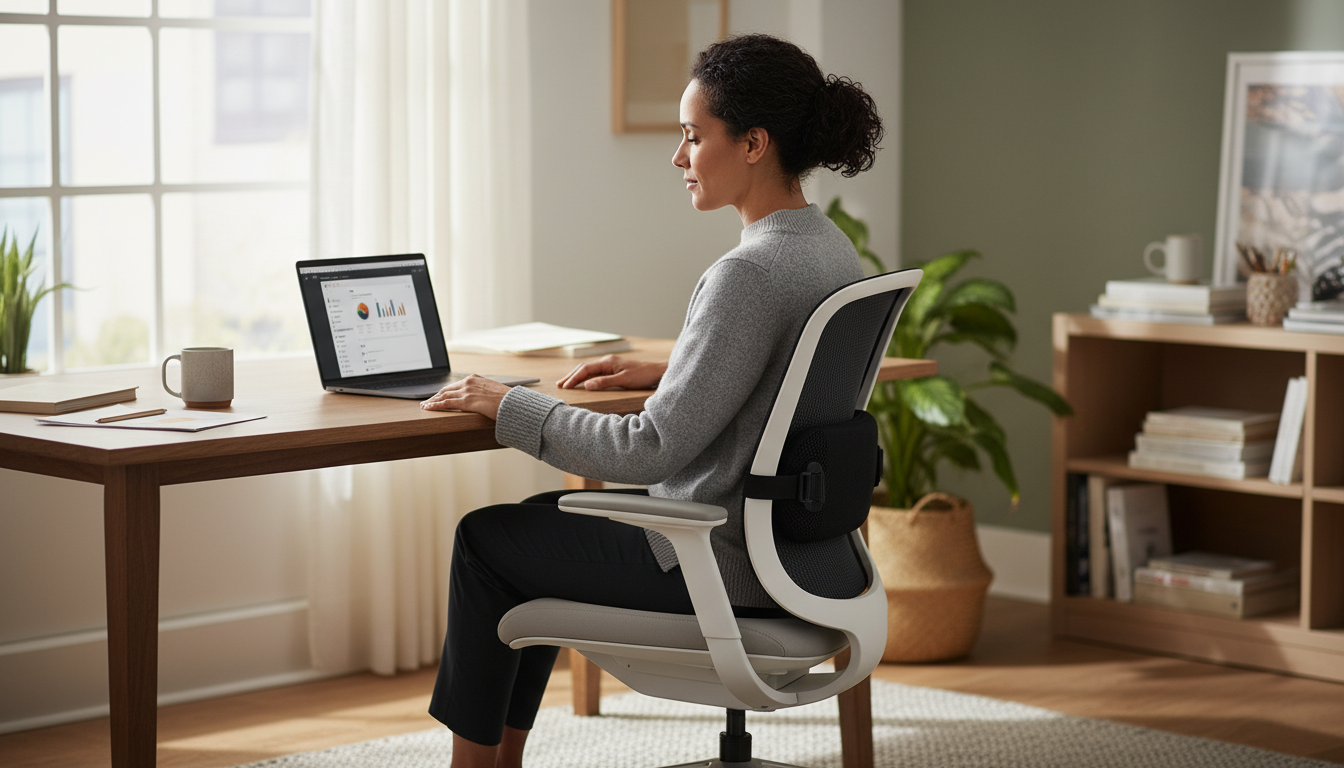
What it does: Fills the gap between your lower back and chair, maintaining your natural lumbar curve
Who needs it: Anyone with lower back pain from sitting, anyone whose chair lacks adequate built-in support
What to look for:
Price range: $25-60 for quality options
Effectiveness: Studies show proper lumbar support reduces back muscle activity by 20-50%, decreasing fatigue and pain.
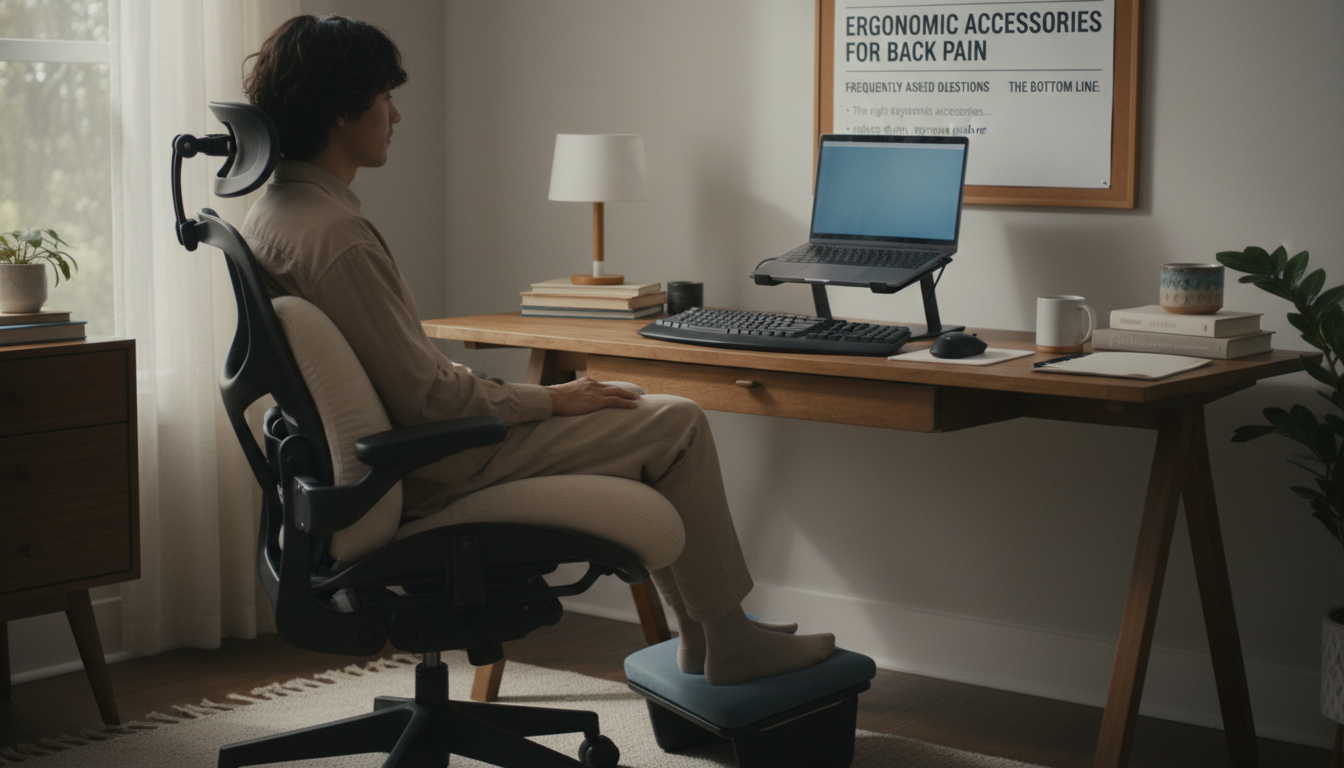
What it does: Raises monitor to proper eye level, reducing neck flexion
Who needs it: Anyone whose monitor top isn’t at or slightly below eye level, laptop users especially
What to look for:
Price range: $30-150 (arms) or $15-40 (fixed stands)
Effectiveness: Proper monitor height reduces neck and upper back strain, which can contribute to lower back compensation patterns.
What it does: Separates input devices from screen, allowing proper positioning of both
Who needs it: Anyone using a laptop as primary workstation
What to look for:
Price range: $50-150 for quality keyboard/mouse combo
Effectiveness: Essential for laptop users—you cannot maintain proper ergonomics with a laptop alone.
Start with the Foundation
Lumbar support is the foundation of ergonomic sitting. Our orthopedic pillow works with any chair to provide the support your lower back needs.
Works with Any Chair | 30-Day Trial | 2-Year Warranty
What it does: Provides foot support when chair is too high, reduces pressure on thighs
Who needs it: Shorter individuals, anyone whose feet don’t rest flat when chair is at proper height
What to look for:
Price range: $25-80
What it does: Positions keyboard below desk level, allowing proper arm positioning
Who needs it: Anyone whose desk is too high for comfortable typing, those with shoulder or wrist issues
What to look for:
Price range: $50-200
What it does: Positions documents at eye level beside monitor, reducing neck rotation and flexion
Who needs it: Anyone who references papers frequently while typing
What to look for:
Price range: $15-50
What it does: Converts sitting desk to standing desk, allowing position alternation
Who needs it: Those who can’t get a full standing desk, anyone wanting to reduce total sitting time
What to look for:
Price range: $150-500
What it does: Improves seat comfort, may provide coccyx relief or pelvic positioning
Who needs it: Those with tailbone pain, hard chair seats, or who need pelvic tilt adjustment
Types:
Price range: $30-80
What it does: Raises laptop screen to proper height
Who needs it: Laptop users (combined with external keyboard/mouse)
What to look for:
Price range: $25-100
What it does: Provides cushioning while standing, reduces fatigue
Who needs it: Standing desk users who stand for extended periods
What to look for:
Price range: $30-80
| Pain Location | Priority Accessories | Secondary Accessories |
|---|---|---|
| Lower Back | lumbar pillow, Standing desk | Footrest, Seat cushion |
| Upper Back | Monitor arm, Keyboard tray | Lumbar pillow, Document holder |
| Neck | Monitor arm, Document holder | External keyboard/mouse |
| Tailbone | Coccyx cushion, Standing desk | Lumbar pillow |
| General/Multiple | Lumbar pillow, Monitor arm | Standing desk, All positioning aids |

A quality lumbar support pillow is typically the highest-impact accessory for back pain sufferers. It addresses the most common sitting problem—loss of lumbar curve—and works with any chair. For around $40, it provides more benefit than accessories costing 3-4x as much.
Yes, when chosen correctly. A $40 lumbar pillow that prevents chronic back pain is far cheaper than physical therapy or lost productivity. However, not all accessories help all people—buy based on your specific pain pattern, not marketing claims.
Some, yes. A rolled towel can substitute for lumbar support temporarily. Books can raise a monitor. However, DIY solutions often don’t maintain proper positioning over time. Quality commercial products are usually worth the investment for daily use.
Most people notice improvement within 1-2 weeks of proper use. However, accessories work best combined with movement breaks and proper positioning habits. If you don’t see improvement after 3-4 weeks of consistent use, the accessory may not be addressing your specific issue.
Not necessarily. Standing isn’t inherently better than sitting—both cause problems when done exclusively. A standing desk helps if you want to alternate positions, but proper sitting setup with regular movement breaks works well for most people. Address sitting ergonomics before investing in standing options.
Start with accessories. A $40 lumbar pillow often solves problems that a $500 chair doesn’t. Many expensive “ergonomic” chairs still lack adequate lumbar support for all body types. Accessories let you customize any chair to your body, and they’re portable between chairs and locations.
Building an ergonomic workspace doesn’t require expensive equipment. The most effective approach:
The goal isn’t a perfect ergonomic setup—it’s a setup that makes good posture easy and bad posture uncomfortable. Start with the essentials, add based on need, and remember that the best accessory is the one you actually use consistently.
The Foundation of Ergonomic Sitting
Before you invest in expensive accessories, get the foundation right. Our ergonomic lumbar pillow works with any chair to provide the support your lower back needs.
30-Day Money-Back Guarantee | 2-Year Warranty | Free Shipping
Your glutes have forgotten how to work. It sounds strange,

Your hip flexors are the hidden culprits of desk-job back
Your back is stiff, tight, and angry. And you’ve got

That nagging pain at the base of your spine—right where

Sitting with a herniated disc can feel like torture. Every
Your desk chair is failing you. Even if you paid

That deep ache in your buttock that won’t quit? The

You’ve blamed your chair for years. And you’re probably right—but

Your back is aching right now, isn’t it? That dull
Is your lower back screaming at you by 3 PM?